Showing posts with label grilling. Show all posts

Saturday, May 19, 2012

Pork Baby Back Ribs


Ribs are something I really didn't enjoy growing up. (I know; you're sensing a theme here, huh.) I've always been a picky eater and when it came to ribs I only ate my step-dad's ribs. He would slow-boil them all afternoon with some special juices and they would almost fall off the bone. They were perfect! I have tried for a while now to improve my ribs, but not have to stay in the kitchen all afternoon while they cook. I have to say that this recipe is one of the best. I've tested crock-pot recipes and stove-top and this is what I've found to make the perfect baby back ribs!

Pork Baby Back Ribs
Adapted from: Kelly's Kitch original
Yields: 1 rack; 3-4 servings

1 rack baby back ribs
juice of one lime
juice of one lemon
Sweet Baby Ray's BBQ Sauce

Cut the ribs every two bones to separate them. Place into a large pot or dutch oven and fill with enough water to cover, plus a little extra. Stir in the juices, lemon and lime halves, and bring water to a boil stove top. Once water is slowly boiling, turn the temperature down to medium-low and allow to simmer for 1-2 hours (or however long you can allow). 

Once the ribs are cooked, remove them from the water and slather with BBQ sauce. NOTE: If you make these a day ahead of time, you can store the cooked BBQ ribs in an airtight container overnight and cook the next evening. This gives the ribs a chance to soak in some of the sauce. 

Place ribs on a grilling tray lined with foil and cook on the grill on medium heat for about 10-15 minutes, flipping halfway. Since you've already cooked the ribs stove top, all you're doing on the grill is giving them a bit more flavor and reheating them. 

They will be tender, but not completely fall apart. Add more BBQ sauce as desired and enjoy!

Thursday, May 17, 2012

Grilled Corn on the Cob


Welcome back to my food blog! I apologize for being MIA the past few months, but there was just so much going on in my life that this was put on the back burner temporarily. Thanks for sticking with me!  In other news, I got a Nikon D3100 dSlr camera soon after my son was born last summer. I still didn't really know how to use it, other than Auto, so I have been attending workshops to learn my camera. Recently, I got a new lens for my first Mother's Day! I absolutely LOVE it; it's way better than the standard one my camera came with. Anyways, I hope you enjoy the improvement with the picture quality as much as I do.

Back to the food...

Corn on the cob is something I typically make at least 2-3 times per week in the summer time. I even freeze it on the cob for those middle-of-the-winter cravings. Everyone has their own way of grilling corn on the cob and I wanted to share my very easy and quick version. I've pre-boiled them, soaked them and this is by far the easiest and yields the best results.

Grilled Corn on the Cob
Adapted from: Kelly's Kitch original
Serves: 2-4

2-4 corn cobs, shucked
foil

Wrap the shucked corn, individually, in a piece of foil wrapping it like a burrito and sealing well. Simply grill on the top shelf (if you have one) or on medium heat for 8-10 minutes, flipping halfway. The corn will stay very hot if you keep it wrapped in the foil, so be sure to open it up about 5 minutes before you'd like to enjoy.

Also, we love buttered corn and growing up my mom would slather a ton of butter on a slice of bread and we could roll the corn cob on that to melt the butter. I highly suggest this!

Friday, September 9, 2011

Charred Corn Salad


Even though summer is coming to a close, I usually stock up on fresh corn on the cob for the winter. There is a local grower who I frequently purchase from at the farmer's market and their corn is substantially better tasting than any I've ever had before; hands down. I love fresh corn in the winter and the frozen and canned corn just isn't the same. Most of you are probably thinking I'm a little crazy for thinking this kind of corn is better, but when you bite into that juicy wonderful cob .. you know. Anyways, I saw this recipe on my new favorite show, Kelsey's Essentials, and just had to try it out. It looked amazing, but it tastes even better! This would be a great addition to any late summer hurrahs. Or it has made a wonderful side dish for my lunches lately. :)

Charred Corn Salad
Adapted from: Kelsey Nixon (Cooking Channel)
Yields: 4-6 servings

3 ears of corn, shucked
1-2 Tbsp canola oil
salt and pepper, for seasoning
3/4 cup packed, fresh basil leaves
1 clove garlic, grated
1/8 cup cider vinegar
1/8 cup extra virgin olive oil
8 oz cherry tomatoes, halved (almost a full 10-oz container)
1/4 small red onion, chopped

Preheat a grill pan, grill or broiler on high heat. I chose the broiler and it took a while, but it was a good alternative to grilling since it's so cold outside. Brush or rub the corn cobs in the canola oil and season with salt and pepper. Place the corn on the grill until charred, about 2-3 minutes, on each side (longer if using the broiler). Once the corn has charred, set aside to cool. Once cooled, stand each ear up inside of a wide, shallow bowl. Cut the kernels off of the cob with a sharp knife. Keep kernels in bowl and set aside.

Meanwhile, combine basil and garlic in a blender or food processor and pulse until it starts to chop up a little. Add vinegar, continue pulsing, and slowly add in the olive oil. Continue to pulse until mixture is smooth. Note: There will be small pieces of basil; this will not completely liquefy.

Add the basil mixture to the bowl with the corn kernels. Add onion and tomatoes and toss well to combine. Taste and season with salt and pepper as needed.

Monday, December 6, 2010

Grilled Chicken Quesadillas


One menu item I have never tried to make at home would be a quesadilla. For one, they look very hard. Also, I never really liked them enough to try it. I have been running out of dinner ideas lately (hint: in need of cook books), so I decided to give it a try. I’m glad I did because these quesadillas were absolutely amazing fresh and tasted even better reheated! I love foods that I can heat up for leftovers. Some foods stay well and some don’t. These do and they are a great weeknight meal, even if you do end up with a lot of leftovers.
Grilled Chicken Quesadillas
Adapted from: Annie’s Eats, originally Confections of a Foodie Bride
Serves: 4

1 Tbsp chili powder
2 Tbsp fresh cilantro, minced (optional)
1 Tbsp olive oil
juice of 1 lime
dash salt
1 tsp cumin
½ tsp red pepper flakes
2 boneless, skinless chicken breasts, halved lengthwise
½ yellow onion, chopped
2 tomatoes, seeded and diced
corn tortillas (6-7 inch)
cooking spray
shredded cheese

Heat a grill pan or skillet over medium-high heat. In a pie plate, combine the chili powder, cilantro, olive oil, lime juice, salt, cumin and red pepper flakes. Whisk to combine and coat the chicken halves in the mixture. Cook chicken until browned on both sides and is no longer pink inside. Remove from heat and shred the chicken once cooled. Add the onion to the pan and cook until tender, about 5 minutes.

In a medium mixing bowl, combine the chicken, onion, and diced tomatoes. Toss well. Lightly brush or spray one side of a tortilla with vegetable oil. Flip over on a clean work surface so that the oiled side is down. Place a quarter cup of chicken mixture onto tortilla and spread evenly. Sprinkle shredded cheese on top. Fold tortilla over to sandwich the filling like a taco.

Cook the assembled quesadilla over medium-high heat in a lightly oiled grill pan or skillet until browned on the outside and cheese is melted on the inside. Slice into wedges and repeat with remaining tortillas and chicken mixture. Serve warm with sour cream and salsa.

Friday, September 17, 2010

Grilled Beans


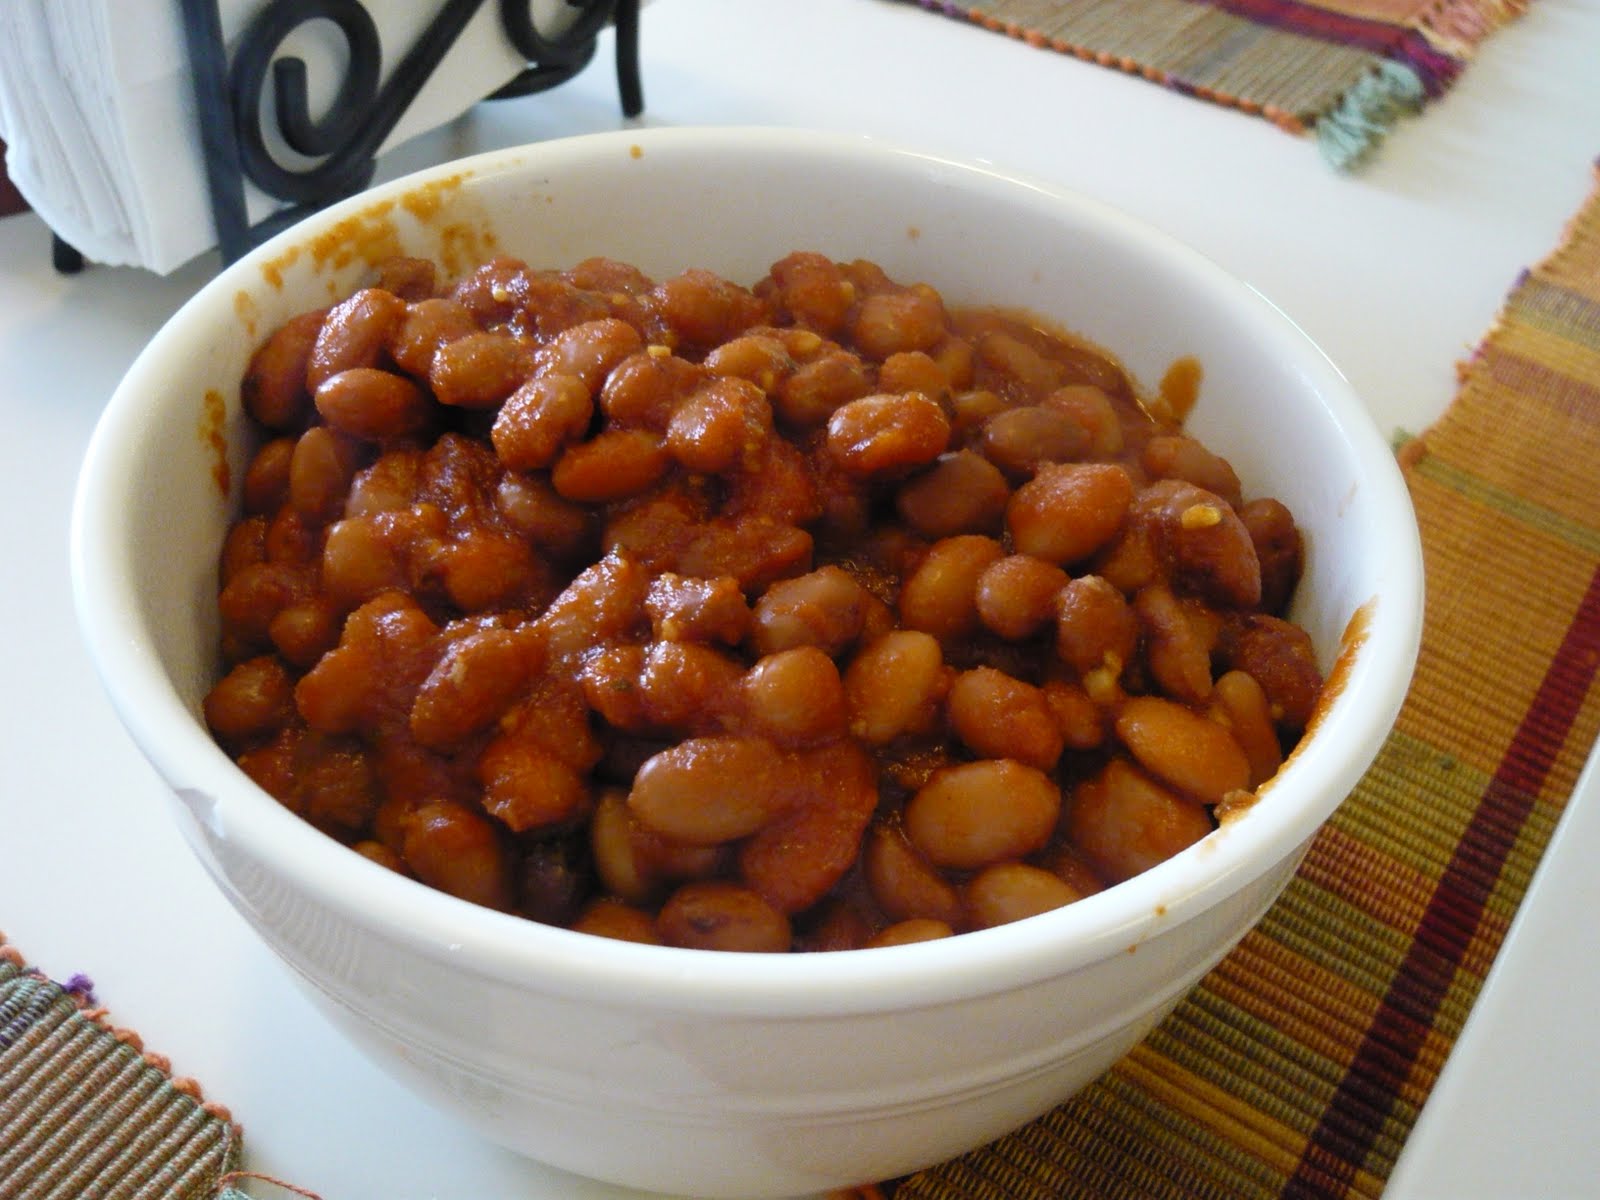
For not really ever liking baked beans growing up, I sure do have a lot of recipes on here for beans. Although my traditional baked beans are still my favorite, this goes perfectly with grilled chicken since the sauce is the same and it's oh-so-delicious. I would say these remind me more of fall and the other ones really are a spring/summer dish. These baked beans are so easy to make and really do make a perfect side dish to any BBQ you are planning!

Grilled Beans

1.5 cups tomato sauce (marinara sauce)
1.5 Tbsp finely packed brown sugar
1 Tbsp ginger, grated
1/2 Tbsp red wine vinegar
1 garlic clove, minced
2 cans pinto beans (15-oz each), rinsed and drained

In a small bowl, combine tomato sauce, brown sugar, ginger, vinegar, and garlic. Place mixture into a medium to large saucepan and add the beans. Bring to a slight boil and reduce heat to simmer for 15 minutes, until beans are slightly coated and sauce is thickened.

Pour beans into a disposable foil pan and cover with foil. While grilling chicken or cooking your main meal on the grill, place the beans on the side of the grill for 10 minutes to reheat. Serve warm with grilled chicken!

*Note: If you are making the grilled chicken recipe, the sauce measurements for that are enough for both the chicken AND the beans. I halved this recipe in case you are only making these beans by themselves.

Thursday, September 16, 2010

Texas Barbecued Chicken


I love chicken. I've never really admitted this, but I only really like the boneless, skinless chicken breasts. They are just so much easier to work with and I feel like you get more meat out of it; there are just too many fatty parts of a chicken leg. Against my better judgement I decided to tackle the bone-in chicken for once. I knew I couldn't fry it. One, I don't have the patience for that, and two, I've attempted it so many times I know when to admit defeat. Well grilling is much easier, but still takes a very long time. The recipe said to grill them for 20 minutes but we cooked them for about 35 minutes and they still weren't totally done. Unfortunately for us, the gas went out on the grill right at that time so that's what we had to work with. I think this would be a great recipe for wings, though. The sauce is AMAZING!

Texas Barbecued Chicken

3 cups tomato sauce (marinara sauce)
3 Tbsp firmly packed brown sugar
2 Tbsp ginger, grated
1 Tbsp red wine vinegar
2 garlic cloves, minced
4 whole chicken legs (2 lbs total), split and skinned

Preheat the grill to medium heat. When ready to cook, spray the rack off the grill with cooking spray to prevent sticking.

In a small bowl, combine tomato sauce, brown sugar, ginger, red wine vinegar, and garlic. You can use 1.5 cups of the mixture to make a side of beans with (recipe here). The rest is used for coating the chicken.

Grill the chicken, covered, turning occasionally and basting with the remaining tomato sauce. Continue to cook for 15-20 minutes on medium heat and then turn the heat up to medium-high for another 15 minutes, or until the chicken is cooked thoroughly.

Note: You can also make sure that your grilled chicken is always done inside by cooking them prior to grilling in a crockpot or boiling on the stove. Be sure to not over-cook them though. You will want to cook 3/4 of the way and then grill the rest. This significantly cuts down on grilling time (and I always do it for my ribs).

Thursday, August 26, 2010

Jerk Chicken Kabobs


Lately I have been in desperate need of quick dinners because it's a busy time of the year for both my husband and myself. Although the chicken does sit in the marinade in the fridge for an hour (or so) beforehand, once on the kabobs, it's less than 10 minutes before you get to eat these all up. I'm usually not one to use a marinade either but I can't stand the taste of plain chicken (and I despise using salt and pepper alone). So I tried this recipe and it was absolutely amazing. It wasn't too spicy but it did have some kick to it. It also wasn't too overpowering of a taste .. it was just right! I also experimented with more fruits and veggies and I will tell you that the mango and pineapple went best with the kabobs. I won't be doing the onion again. The red pepper was okay, but to be fair I prefer green pepper.

Jerk Chicken Kabobs
Adapted from: Homemade by Holman

For the marinade:
juice of 1 lime
1/2 Tbsp chili powder
1/2 tsp cayenne pepper
1 tsp thyme
1/4 tsp allspice
1/4 tsp salt
1 clove garlic, minced
1/2 Tbsp brown sugar
1/8 tsp cinnamon

For the kabobs:
1lb boneless, skinless chicken breast
1 mango
1/4 whole pineapple
1 red bell pepper

Start the marinade about 1 hour before you plan on heating up the grill. Mix all marinade ingredients in a large tupperware container until uniform. Chop the chicken into 1-inch cubes and place into the tupperware containing the marinade. Toss to coat well (or put the lid on tight and shake vigorously). Place in the fridge and keep in there for at least 45-60 minutes. You can also use a large ziplock freezer bag for this, but I recommend tupperware because it is more eco-friendly and you can always reuse it.

While the chicken is in the refrigerator, chop the mango, pineapple and bell pepper to 1-inch pieces and set aside in separate bowls. If you are using wooden skewers, soak them in water for at least 30 minutes prior to grilling. I did this by using a 9x13 baking dish, putting a small amount of water in it and placing a small glass dish on top (to keep them from floating).

When the chicken is done in the fridge, place the cubes onto 4 wooden skewers leaving a slight gap in between each piece. Then, place the vegetables and fruit on four SEPARATE SKEWERS.

Begin by setting the grill on medium heat and placing the chicken on the bottom rack. Cook until they look almost done on the bottom side (about 3-5 minutes) and flip over. Then, add the fruit/vegetable kabobs to the top rack (if you have one) and leave there until chicken is done cooking and is no longer pink (about 3-5 minutes). Serves: 3-4.

TIP: You never want to make kabobs where the meat and the vegetables are on the same skewer because you will overcook the veggies and undercook the meat. They cook at different lengths of time (just as different meats do). Therefore, place all different kinds of meat on separate skewers from each other AND the veggies.