Thursday, May 17, 2012

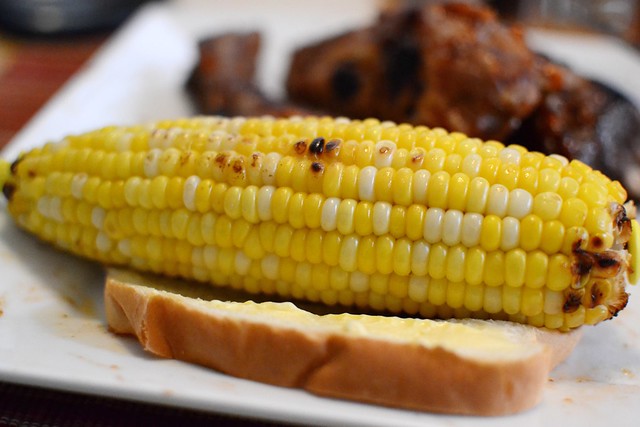
Grilled Corn on the Cob


Welcome back to my food blog! I apologize for being MIA the past few months, but there was just so much going on in my life that this was put on the back burner temporarily. Thanks for sticking with me!  In other news, I got a Nikon D3100 dSlr camera soon after my son was born last summer. I still didn't really know how to use it, other than Auto, so I have been attending workshops to learn my camera. Recently, I got a new lens for my first Mother's Day! I absolutely LOVE it; it's way better than the standard one my camera came with. Anyways, I hope you enjoy the improvement with the picture quality as much as I do.

Back to the food...

Corn on the cob is something I typically make at least 2-3 times per week in the summer time. I even freeze it on the cob for those middle-of-the-winter cravings. Everyone has their own way of grilling corn on the cob and I wanted to share my very easy and quick version. I've pre-boiled them, soaked them and this is by far the easiest and yields the best results.

Grilled Corn on the Cob
Adapted from: Kelly's Kitch original
Serves: 2-4

2-4 corn cobs, shucked
foil

Wrap the shucked corn, individually, in a piece of foil wrapping it like a burrito and sealing well. Simply grill on the top shelf (if you have one) or on medium heat for 8-10 minutes, flipping halfway. The corn will stay very hot if you keep it wrapped in the foil, so be sure to open it up about 5 minutes before you'd like to enjoy.

Also, we love buttered corn and growing up my mom would slather a ton of butter on a slice of bread and we could roll the corn cob on that to melt the butter. I highly suggest this!

Tuesday, February 14, 2012

Happy Valentine's Day - Easy Chocolate-Covered Strawberries


I hope everyone has a wonderful Valentine's Day today! Here is a quick and easy treat to make for that special someone if you don't have a lot of time or money. I found strawberries on sale at my grocery store and dipped them in some chocolate. Once they dried (about 15 minutes in the fridge), I put some melted white chocolate into a ziploc bag and snipped the corner off. Instant piping bag!

To melt the chocolate without taking a lot of time or using a lot of dishes, simply place the chocolate chips into a microwave-safe bowl and melt on the defrost setting in 30-second increments, stirring in between. Once it is melted, dip the fruit! Keep the fruit on a cookie sheet lined with wax paper in the fridge until they harden and enjoy!

Sorry for the gratuitous instagram photo, but I'm too sleep-deprived and exhausted from my son's teething shenanigans (yes, I said shenanigans) to break out the actual camera, get the lighting just right, etc. Thanks for understanding! :)

Tuesday, January 24, 2012

Cake Balls


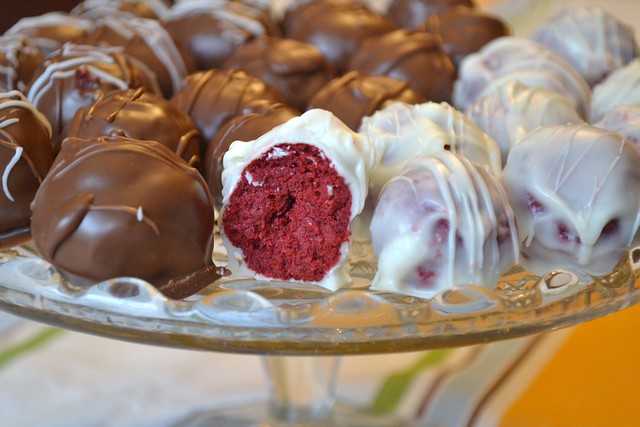
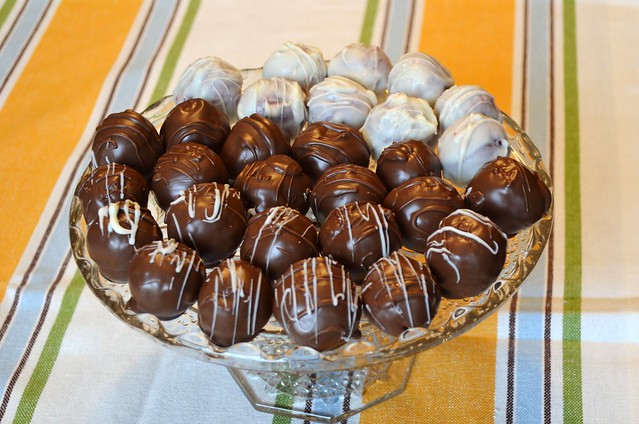
I was asked by a good friend to help provide some sweets/desserts at her baby shower a couple of weeks ago and I happily obliged. Any reason to bake sweets and I'll take it! I haven't always had good luck with cupcake icing and I wasn't quite sure how to transport them in one piece so I decided to take the easy way (or so I thought) and make cake balls.


Full disclosure: cake balls are horribly awful to make. They, however, do taste amazing and look great! I got compliments all afternoon about how great the cake balls tasted and there were very few left when we left the shower. Be prepared to get messy. Another great suggestion when making these is to pace yourself. Bake the cake one night, then roll them another. The next night dip them in the chocolate. This will save you energy and sanity. Just be sure you have the fridge space for however many you decide to make.

Cake Balls
Adapted from: Bakerella
Yields: 6 dozen balls, quarter-sized

1 box red velvet cake mix (and all the ingredients listed on the box)
1 container (16oz) cream cheese frosting
1/4 bar paraffin wax
1 bag milk chocolate chips

Bake cake as directed on box, for a 13x9 cake. Allow cake to cool and crumble in a large mixing bowl by hand. Add cream cheese frosting and mix well (note: if mixing with your hands it will be very messy.) Roll into quarter-sized balls and place on a cookie sheet lined with wax paper. Once all the balls are rolled, place the cookie sheets into the fridge to cool; or overnight.

Melt wax and chocolate in a double-boiler on medium-low heat, stirring often. Dip the cake balls into the chocolate with a spoon and place back onto the cookie sheet with wax paper. Cool in the fridge until ready to serve, up to 3 days.

If you really want to make your cake balls look even better, once they have set a little bit (but not all the way) you can take a toothpick and cut around the edges to get rid of any excess chocolate. But then again, who wouldn't want more chocolate.

Saturday, January 21, 2012

Baby Food - Avocado Puree


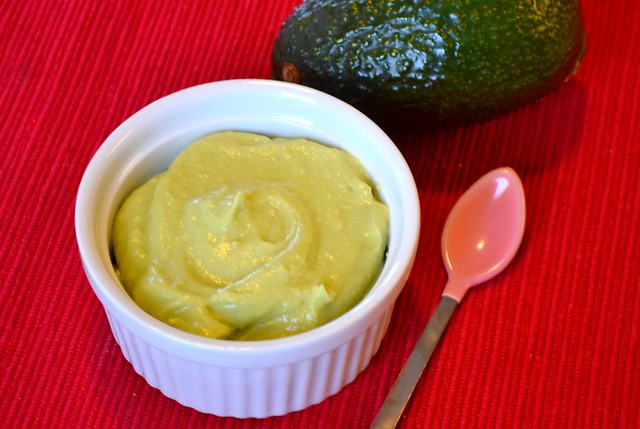
Avocado is something I'd never eaten because I hate guacamole. I guess my tastes have changed (aka I eat everything in sight) since being pregnant and breastfeeding so I was curious to see how this super-fruit tasted. I've read that avocado is one of the best foods you can give your child! It also has a very low chance of allergy and are so easy to serve, too. Some people just mash it with a fork in a bowl, but Cam prefers the smoothness of the puree foods so I blended it.

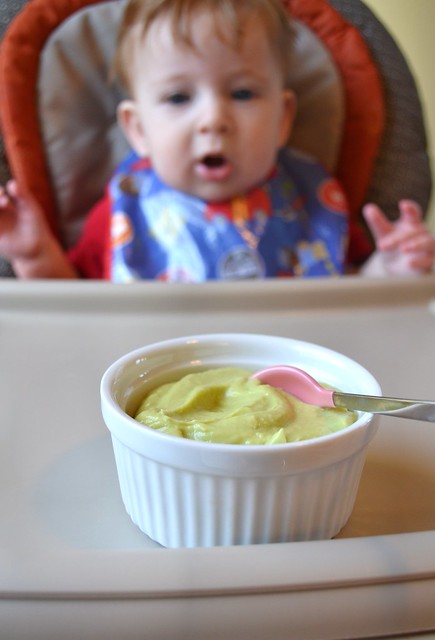
And, of course, Camden loved it! He didn't so much like my first attempt to puree it (using less water and being very chunky). I guess we've got a little ways to go until he reaches the stage where he wants textured foods.


Baby Food - Avocado Puree
Adapted from: Kelly's Kitch original
Yields: 1.5 servings/jars

1 avocado
water

Slice the avocado in half and remove the seed. Since this was my first time working with an avocado, I looked up a how-to video on youtube found here. Place the flesh of the avocado into a food processor and add 1/4-1/3 cup water, more if necessary (I used about 1/3 cup). Process until smooth and serve or freeze immediately.

Friday, January 6, 2012

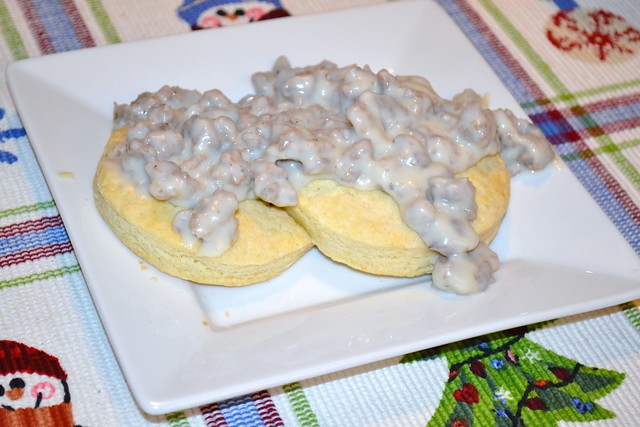
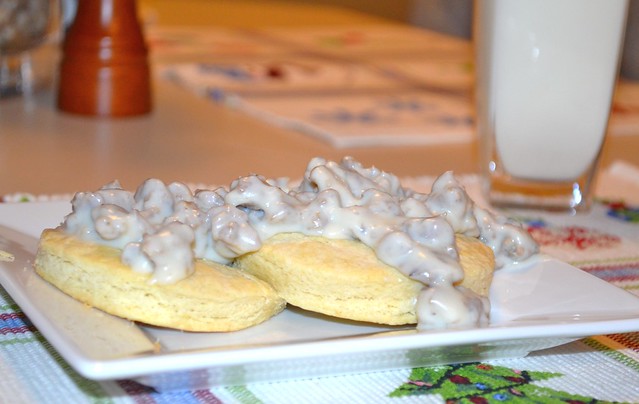
Biscuits & Gravy


Growing up I was told my mother made the best biscuits and gravy, but I wouldn't know because I was too afraid to try them. Gravy for breakfast always made me cringe and I wasn't a huge fan of sausage either so it made sense that I never tried it. I'm saddened now about all the great food I've missed out on, including this!

I got this recipe from my husband's best friend's mother (still following? me either). She apparently makes biscuits and gravy so good there's never any leftovers. I got some tips from her about what ingredients to use and not use and this amazing breakfast is what I came up with. I would suggest making Bisquick Biscuits, unless you have a great, fluffy breakfast biscuit recipe. The ones I made from here (without the chives) were flat and not very tasty, although they were very flaky so it made for some good biscuits for these, in my opinion.


Biscuits & Gravy
Adapted from: Kelly's Kitch original
Yields: 4 servings

1 pkg buttermilk biscuits (Bisquick)
1 lb pork sausage
1/2 cup 2% or whole milk
1-2 cups all-purpose flour
salt and pepper, to taste
 
Bake the biscuits according to package directions. Meanwhile, brown the sausage in a large skillet over medium heat. Once cooked through, add the 1/2 cup of milk to the pan and mix briefly. Add the flour in 1/4-cup increments, mixing constantly, until the gravy is your preferred consistency. We used about 1 1/2 cups. Add salt and pepper as desired and serve immediately with biscuits.

Friday, December 30, 2011

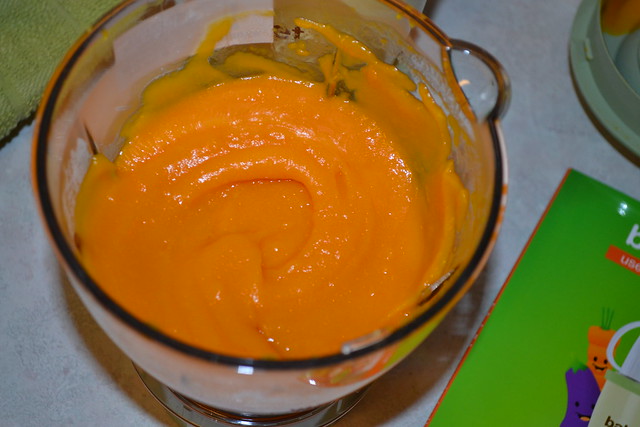
Baby food - Butternut Squash


Now that my baby is 6 months old (and growing too fast), I am very excited to christen my new Baby Bullet I got for Christmas this year! With too much excitement I've purchased bananas, several types of squash, and more. Who would have thought I'd be so excited to make puree foods?! I made pumpkin puree once with my blender but it didn't puree it as much as I'd have liked. The Baby Bullet has worked 10 times better! Side note: Camden did not like the pumpkin .. at all. I am so excited for all the milestones and great times that 2012 is sure to bring us and our new, bigger family! I hope you and yours have a great New Years.

Also, I wanted to note that I saved at least $3 by pureeing the squash myself, compared to $.50 per jar. I purchased one squash at $2 (out of season) and pureed it into several servings!

Puree Butternut Squash
Adapted from: Kelly's Kitch original
Yields: 1 ice cube tray (approximately 14-16 "ice" cubes)

1 medium butternut squash
1/4 cup water, plus more for baking

Preheat oven to 350°F. Cut the top stem off of the squash. Slice squash lengthwise in half and place flesh-side down into an 8x8 baking dish. Add enough water to cover the sides of the squash about 1/4-inch up. Bake for 40-45 minutes, or until flesh is easily pierced with a fork.

Allow squash to cool enough to handle and peel the skin off. Place the cooked flesh into a blender and add the 1/4 cup of water. Puree until smooth, adding more water if necessary. Freeze in an ice cube tray for long-term storage (up to 3 months) or store in the fridge for up to 3 days.

Thursday, December 29, 2011

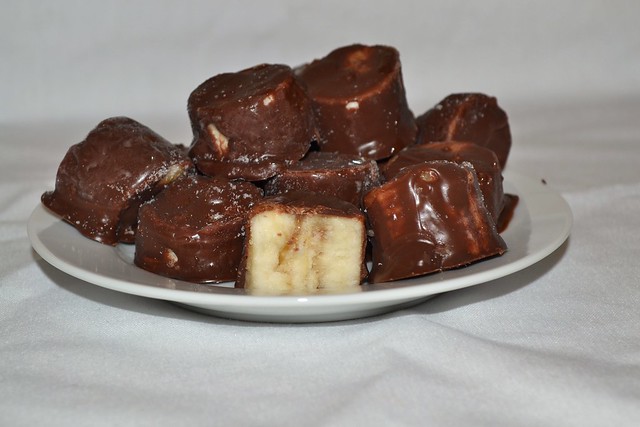
Chocolate Covered Bananas


Pinterest is my new obsession! I got an idea to make something similar to these from one of the pins on there. I totally ignored the recipe when I made these because it was really a spur-of-the-moment kind of thing. I was making buckeyes and had a ton of leftover chocolate so I was searching for things to dip in it. Think chocolate fountain! I didn't want to use my apples since I was saving them for another recipe. I had some banana's so I dipped them into the chocoalte and froze them. I tasted them 1 hour after freezing (they weren't too frozen) and after overnight (they were rock solid). I definitely prefer and would suggest the 1-hour freezing because you still could taste the banana really well. This is a very easy dessert and a great way to use up all that extra chocolate!!

Chocolate Covered Bananas
Adapted from: Kelly's Kitch original

1/2 bag chocolate chips (6 oz)
1/4 bar paraffin wax
4-5 large bananas, cut into 1-inch segments
toothpicks
Parchment paper

Melt the chocolate and paraffin in a double boiler on the stove. While that is melting, prepare 1-2 baking sheets lined with parchment paper. Continue to mix the chocolate until all the wax is melted and there are no more chunks in the mixture. Dip the bananas with the toothpick into the chocolate, completely submerging it. Place onto the prepared baking sheet(s) and allow to freeze for at least 1 hour before serving.

If you plan to freeze overnight, I'd suggest letting them sit out for 20-30 minutes before serving.